01
Your Communications Dashboard - The 3CX Web Client
Logging in
- Retrieve your credentials from your Welcome Email.
- Go to your Web Client URL, e.g. https://mycompany.3cx.com/webclient/
- Login using your extension and password.
Make, Receive & Transfer Calls
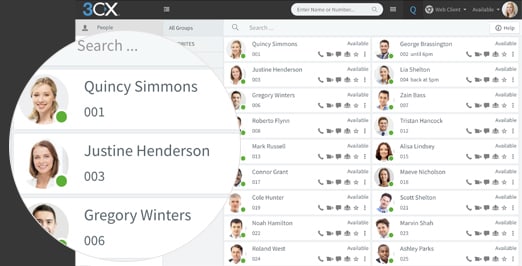
- Make a call by clicking on an extension or enter name/number in the search box.
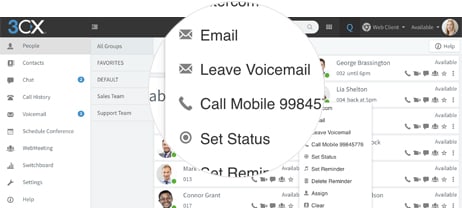
- Toggle the phone icon to trigger a call on your smartphone, deskphone or web client.
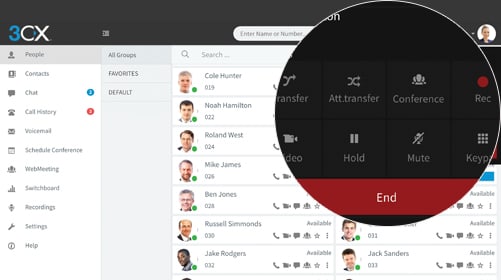
- Transfer a call by clicking “Transfer” or “Att. Transfer”, enter the extension or name.
- If Att. Transfer announce the call and click “Transfer”.
- To blind transfer click “Transfer” and hang up.
Manage your Status
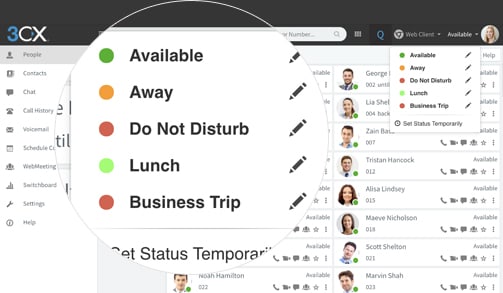
- Set your status and status message by clicking on the drop down menu next to your avatar.
- Click on the pencil to add a status message.
- Set status temporarily to time limit your status automatically.
- Green means available, yellow on a call, red is busy – calls will be diverted to voicemail.
Chat with your Colleagues
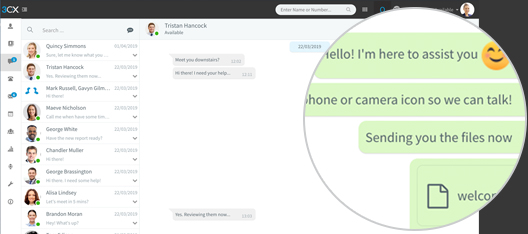
- Click on the “Chat” function.
- Click on the “Compose” icon to search and add people for one-on-one or group chat.
- Select the extension(s) and click “OK” to start chatting.
Check out the HELP page
Find out what else you can do with your Web Client
02
Your Office Anywhere – The 3CX Apps
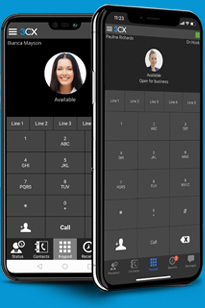
Download the iOS or Android Apps:
- Open your welcome email.
- Open the app on your device, tap on the menu (top left) and then “Scan QR Code”.
- Now scan the QR code from your welcome email – done!
Install the Extension for Chrome & Edge:
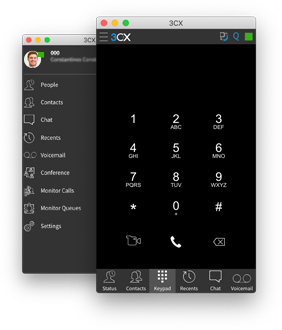
- Open your Web Client and click “Install 3CX Browser Extension” and follow the on-screen prompts.
- In the Web Client, activate the extension and you’re all set!
- Disable and remove the 3CX Click to Call Extension if you have it installed.
To transfer a call:
- Click “Transfer” or “Att. Transfer”.
- Enter the extension or search by name, tap “Transfer” and hang up.
- If Att. Transfer announce the call and click “Transfer”.

03
Using your Deskphone
To make a call:
- Dial the number on the keypad and hit the send or enter button.
- OR select a contact or extension from your Web Client or a number from a web page, hit call.
- The Web Client triggers the call on your deskphone if selected via the phone selector toggle.
To transfer a call:
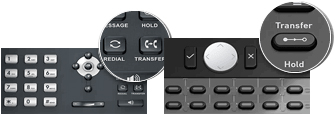
- For blind transfer: Press “Transfer”, dial the extension, press send/dial and hang up.
- Attended transfer Yealink: Press “Transfer”, dial number or select extension, press “Send”, announce the caller, press “Transfer” and hang up.
- Attended transfer Snom: Press the “Hold” button and dial the extension you want to transfer to. Announce the call and press “Transfer” followed by send/dial and hang up.
See detailed Transfer,
Voice Mail & Conference guides for all IP Phones
04
Voicemail
Setting your Voicemail Greeting
- By phone:
- Dial the voicemail number as indicated in your welcome email.
- Enter your PIN and then press “#”.
- Select option “9” then “8” and then “0” to record.
- Press “#” to end recording and “0” to save
- From the web client:
- Go to “Settings” > “Greetings”
- From here you can set a greeting according to your status.

To Playback Voicemail
- By phone:
- Dial your voicemail number or hit “Voicemail/Message”
- Enter your PIN, press “#” and then “*” to play your messages.
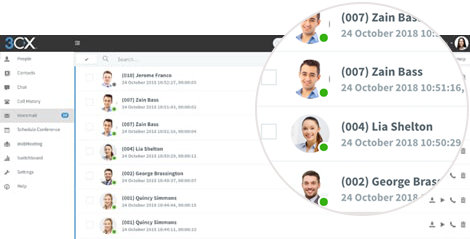
- Web Client: Click on “Voicemail” and click the playback icon to listen to the message on your selected phone.
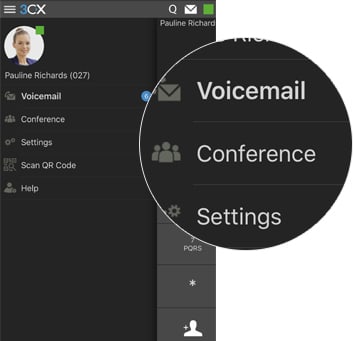
- Android & iOS App: Tap on the burger menu and select “Voicemail”, tap on the voicemail and select “Play” to listen to the message.
05
Scheduling an Audio/Web Conference
Creating an ad-hoc Web Conference
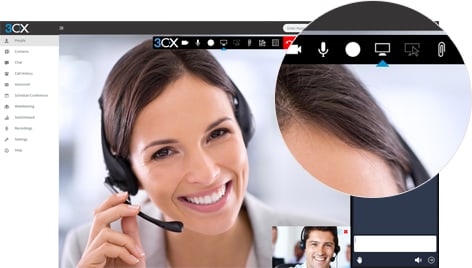
- Click on “WebMeeting” in the web client.
- Allow Webmeeting to use the camera and microphone.
- Click on “Invite People” in the right panel to add participants.
Creating an Audio Conference
From the Web Client, Android & iOS Apps:
- Tap or click on “Schedule Conference” (in the top menu for smartphones).
- “Enable Announcements” to get notified when participants join.
- Add the “Subject” and “Notes”.
- Specify the preferred time.
- Hit “Create Meeting” (Web Client) or “Done” (Android & iOS) and add participants.
- Participants will receive an invitation email with an external dial-in number and a PIN.
- Internal participants will receive an email with an extension and PIN or be called.
Learn more in our WebMeeting Guide


